C语言-求三角形面积
本文共 301 字,大约阅读时间需要 1 分钟。
一、代码
//三角形面积:(海伦公式)(p=(a+b+c)/2)//S=sqrt[p(p-a)(p-b)(p-c)]#include#include void main(){ double a,b,c; double p; double s; scanf("%lf%lf%lf",&a,&b,&c); if((a+b>c)&&(a+c>b)&&(b+c>a)){ p=(a+b+c)/2; s=sqrt(p*(p-a)*(p-b)*(p-c)); printf("%lf",s); } else printf("无法构成三角形"); }
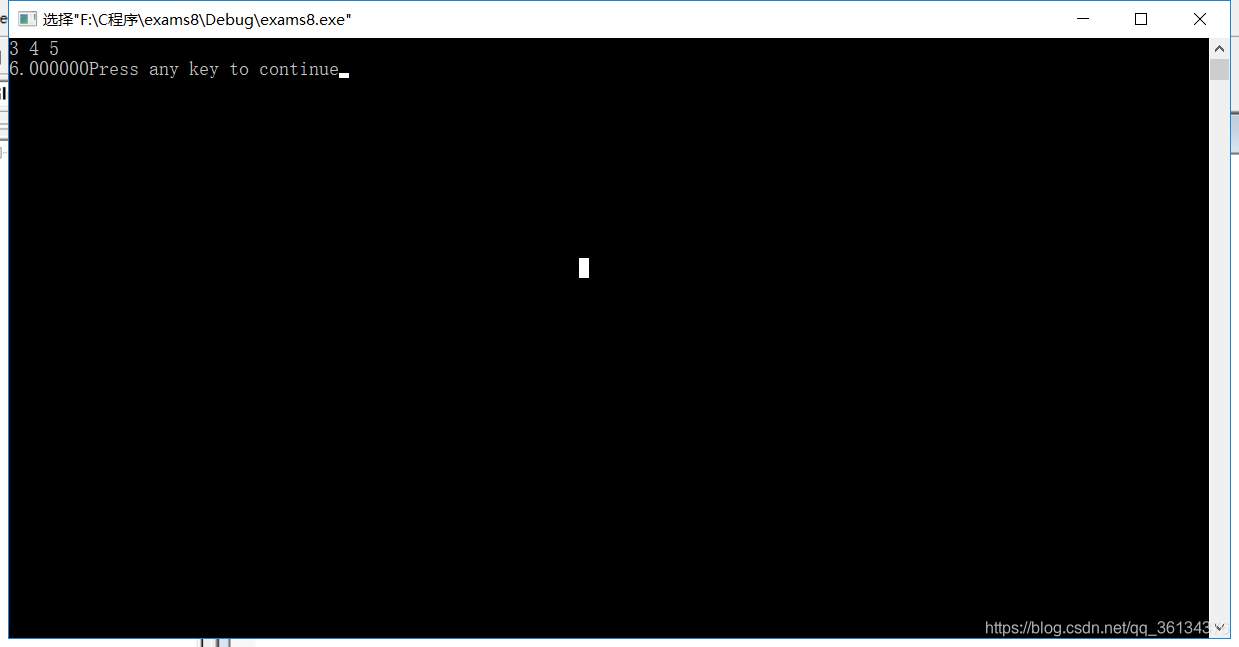
二、结果
转载地址:http://xbch.baihongyu.com/
你可能感兴趣的文章
MySQL SQL 优化指南:主键、ORDER BY、GROUP BY 和 UPDATE 优化详解
查看>>
mysql sum 没返回,如果没有找到任何值,我如何在MySQL中获得SUM函数以返回'0'?
查看>>
mysql Timestamp时间隔了8小时
查看>>
Mysql tinyint(1)与tinyint(4)的区别
查看>>
mysql union orderby 无效
查看>>
mysql where中如何判断不为空
查看>>
mysql workbench6.3.5_MySQL Workbench
查看>>
MySQL Workbench安装教程以及菜单汉化
查看>>
MySQL Xtrabackup 安装、备份、恢复
查看>>
mysql [Err] 1436 - Thread stack overrun: 129464 bytes used of a 286720 byte stack, and 160000 bytes
查看>>
MySQL _ MySQL常用操作
查看>>
MySQL – 导出数据成csv
查看>>
MySQL —— 在CentOS9下安装MySQL
查看>>
mysql 不区分大小写
查看>>
mysql 两列互转
查看>>
MySQL 中开启二进制日志(Binlog)
查看>>
MySQL 中文问题
查看>>
MySQL 中日志的面试题总结
查看>>
mysql 中的all,5分钟了解MySQL5.7中union all用法的黑科技
查看>>
Mysql 中的日期时间字符串查询
查看>>